Friday, October 27, 2017

"BEAUTIFUL" Travelers Notebook Layout | Freckled Fawn

Hello Lovelies!
Nicole here and today I'm featuring the beautiful October Embellishment Kits in my Travelers Notebook. I'm sure you know by now that the papers were new this month and honestly, I'm in love!!  I love the colors, patters and just the overall quality of them. If you haven't had a chance to check out these papers yet, it's a definite must!!

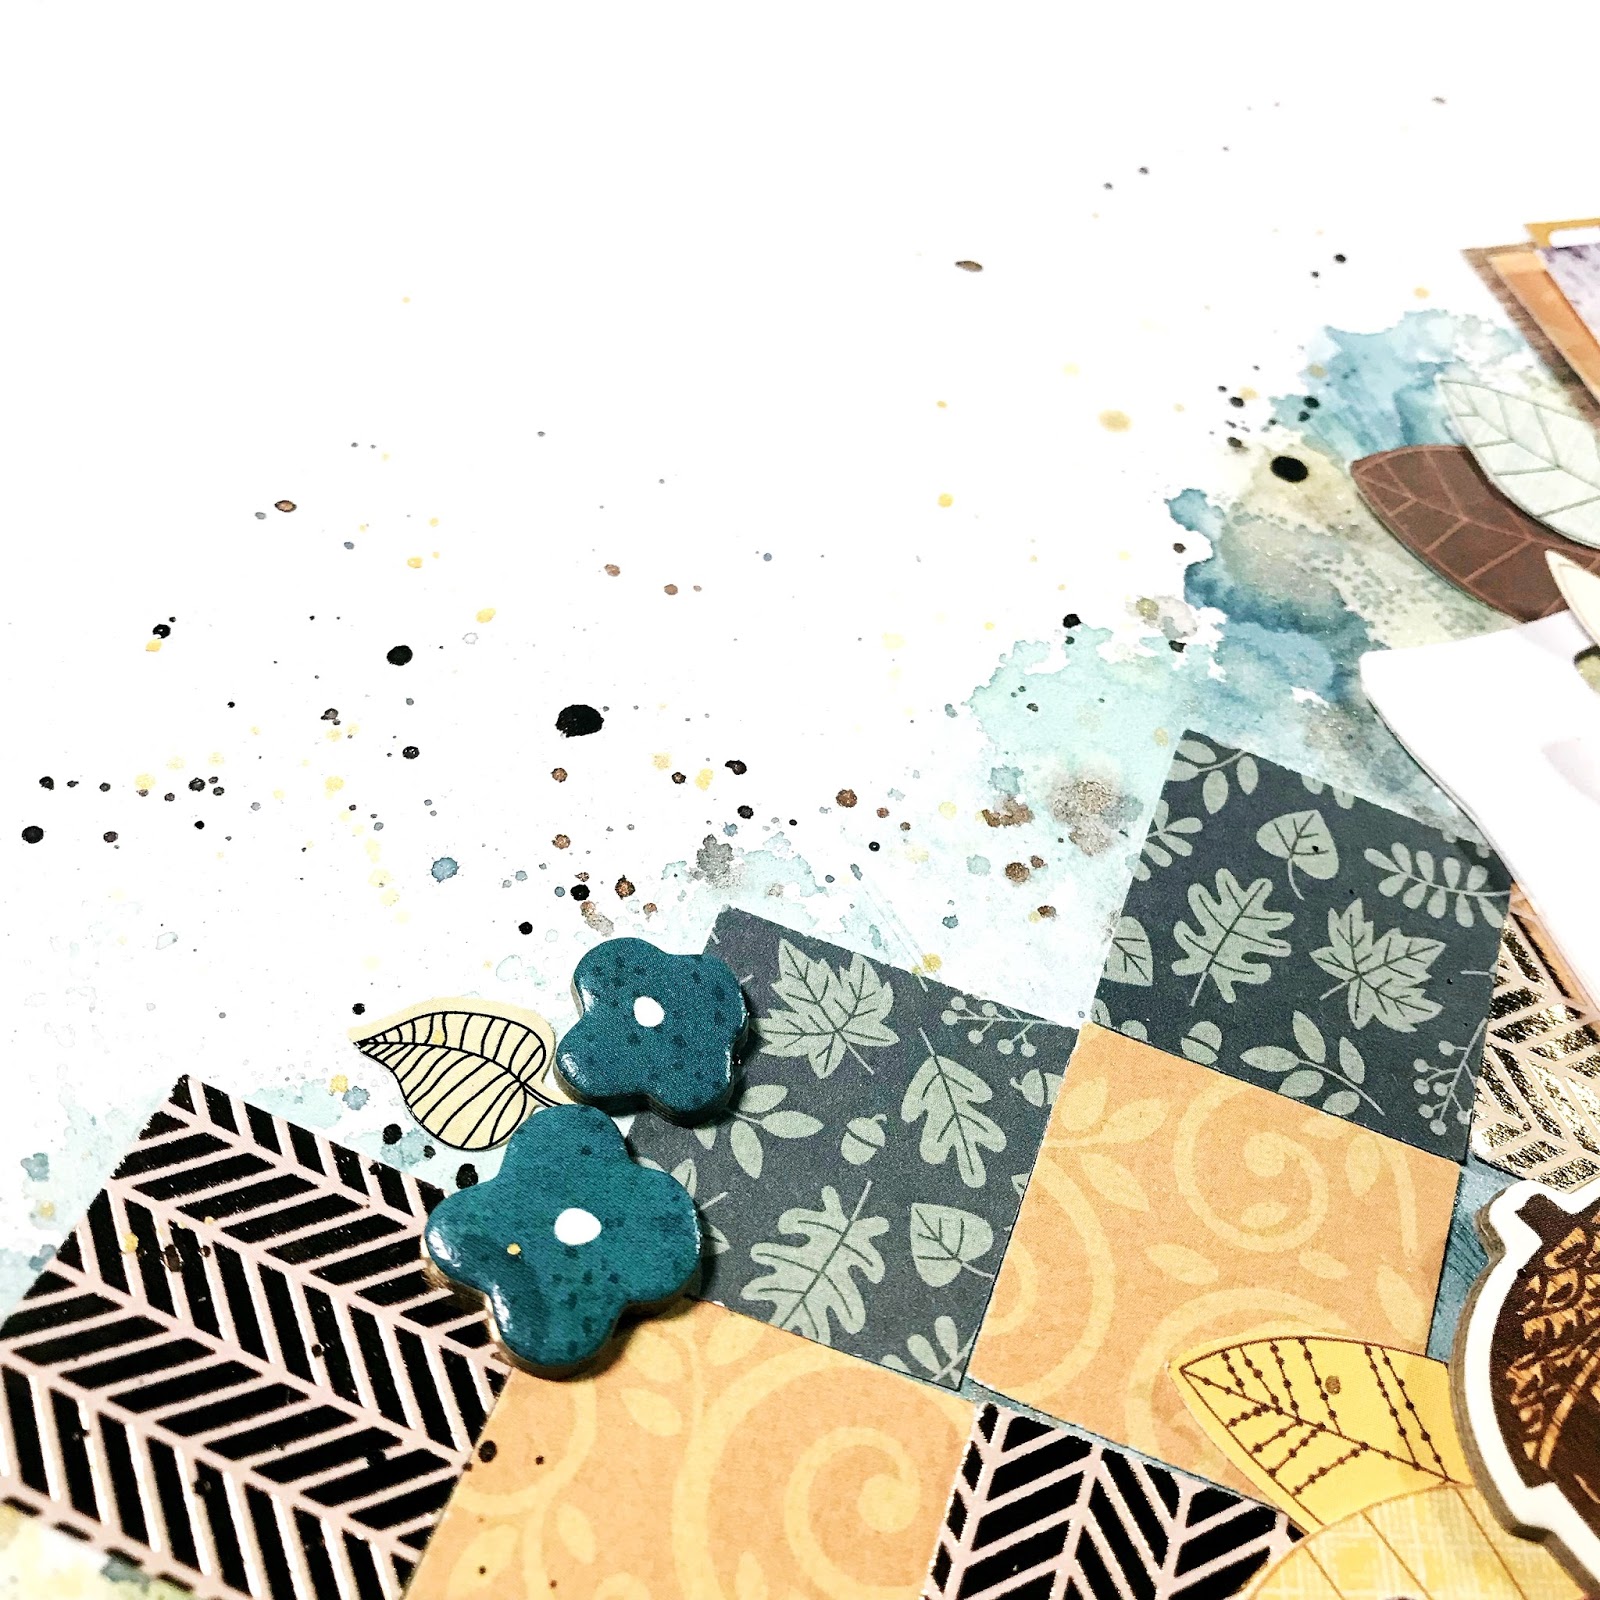
This month I have been inspired with nature and fall...and autumn in general. Trees are changing, it's getting cooler outside and the sun is still shining! I've been blessed to have many moments with my family and my boys recently, but today, I focused on me. This is something I think us mother's don't do enough. On this day, I took time to stop and reflect on myself...even if it was in the car! lol!! We have to take the moments when they come! Here is a look at my TN spread:

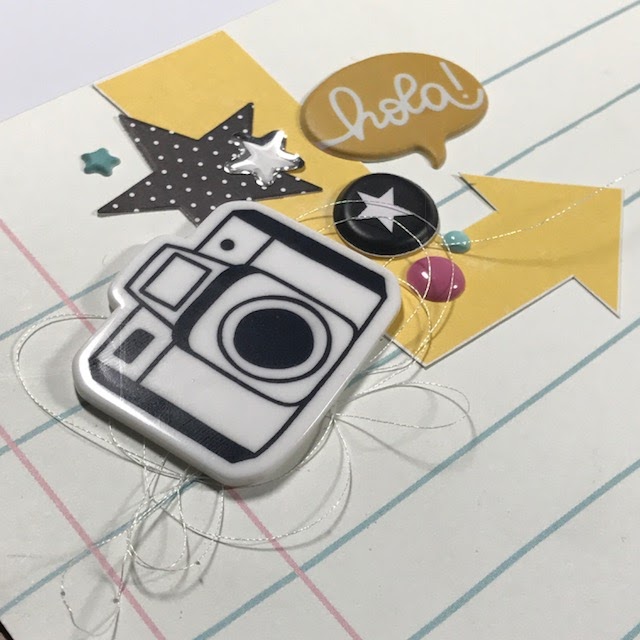
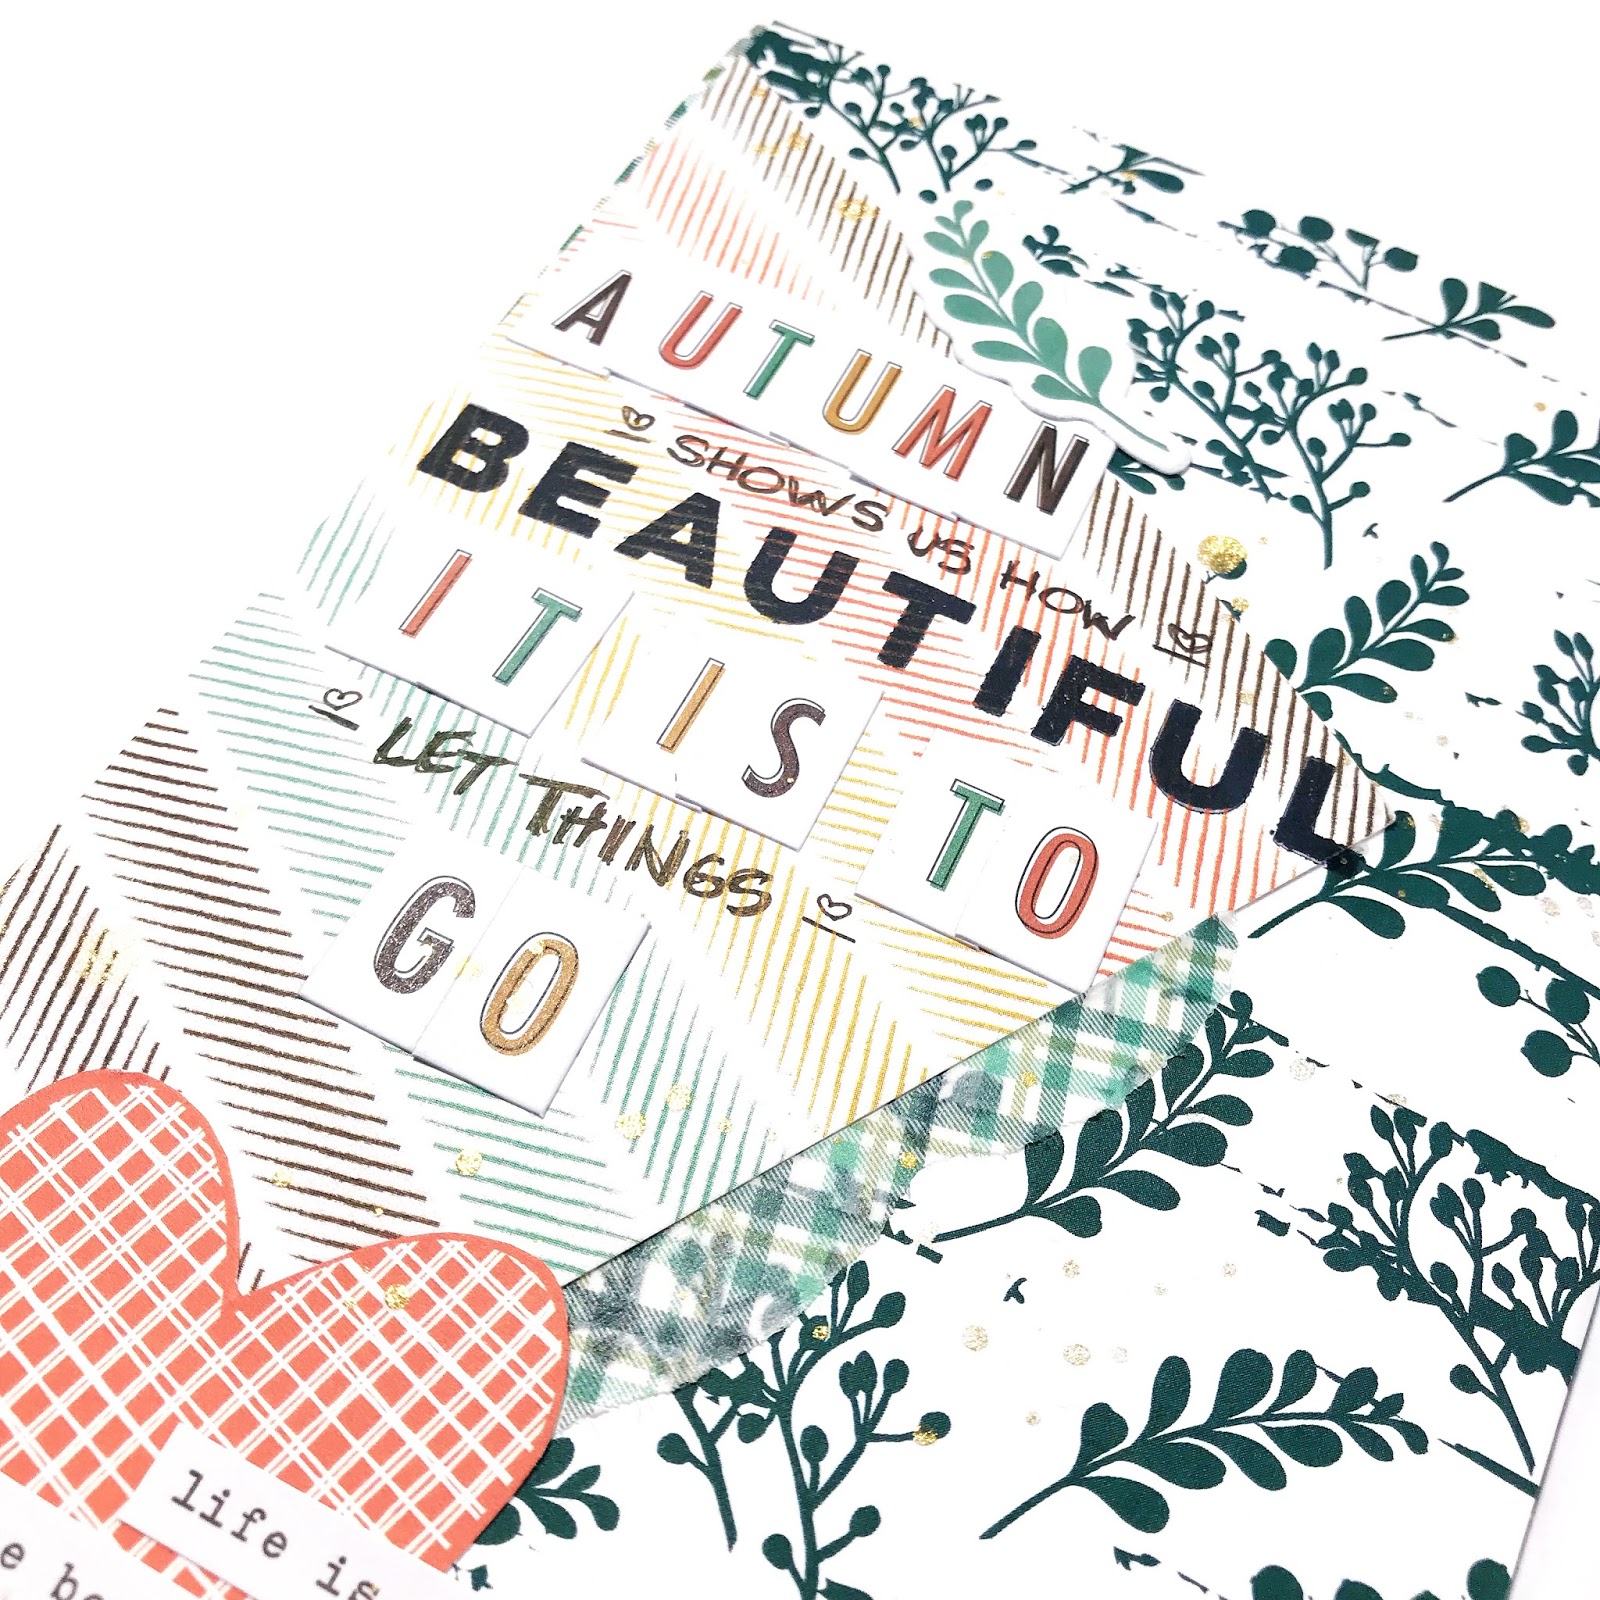
I added layers of the new papers on the left page along with this month's alpha stickers, washi tape and chipboard stickers.  The big red heart was fussy cut from one of the 3x4 pocket cards. The right page I tried to keep more of a clean and simple feel since the left side was so busy. I layered more of  3x4 papers behind my photo, washi tape and a cardstock sticker with my date.  The coffee cup was fussy cut from this months 3x4 cards as well.  I finished off the layout with adding a chipboard sticker at the top and a word phrase sticker from my stash that says "smile every day." Here are more close ups of my final layout:


Like I said earlier, if you haven't had a chance to try these papers, be sure to grab them soon! They are just beautiful!

Until next time, have a "BE-YOU-TIFUL" week!

Wednesday, October 25, 2017

"Family" Fall 12x12 Layout | Shimmerz Paints


Hello Shimmerz Fans!

Nicole here and today I have a fun fall 12x12 layout for you!
I recently purchase the popular Happy Fall Hot Buy paper pad from Michael's Craft Store and it just so happens that Shimmerz Coloringz in Mama Sings the blues and Oh Say Can U Sea are the perfect blue combination for some of these papers! Those beautiful blues were my inspiration for today's spread. Here's a close up of my final layout...


I began my prepping my white paper with gesso. Once that was dry, I layered Coloringz Oh Say Can U Sea, Coloringz Mama Sings the Blues, Inklingz Miner, Miner 49er and Inklingz Penny 4 Your Thoughts for my background colors. I followed that by gluing down squares of patterned paper to add more texture and layers. I found the "Family" cut file from the Paper Issues store online and cut it 3 times with my Silhouette. I glued all 3 layers together to form more of a chipboard type title. Since the background was already so busy, I wanted to keep that white. I used my Shimmeringz Baby's Breath and misted the title to add shimmer! I love my Baby's Breath mist!! It adds the perfect amount of shimmer to anything! Once I placed my title and photo, I went thru my stash and added some fall leaves and other phrases and chipboard pieces for embellishments.  I've been pushing myself to use up a lot of older collections in my stash, so these pieces are from discontinued collections.

Here are close ups of my final layout:


And here are the fabulous shimmery stars of the show:

Thanks so much for joining me today!
Don't forget to mention my name at checkout to get a free Shimmerz product when you order!


Saturday, September 23, 2017

Travelers Notebook Layout | Freckled Fawn


Hello Lovelies! 

Nicole here and today I'm going to take you on a first look inside my Freckled Fawn black heart pocketstyle Travelers Notebook!  I've been dabbling in TNs for a few months, but recently I have just been in love with them!  It's become my new best friend to do mini layouts in!  My past TNs, I have done more of the mixed media/art journal pages with a few home made inserts. This was one of the first times I have really dug into the FF inserts and I love how many pages are in them! Here is a quick look into the inside cover of my TN and how I decorated the cover of one of my inserts:


I have really been loving the Black and White September kit this month and having the black heart TN, it's really hard to not want everything bold colored with all the black elements from that kit in my projects! lol!!  If you have read my previous FF post, I mentioned that I created sort of a "mini kit" from my stash with a lot of bold colors and then of course the black and white September kit.  I had a photo from our summer vacation with my youngest son being his goofy self with his blanket on his head and sunglasses on, so I decided that was the perfect photo to scrap for this layout.  Here are a few close ups:


I absolutely love love love this kit and can not wait to create and share a few more projects with you! 

Thank you so much for stopping by! 
Be sure to join the FF Facebook group for more inspiring TN layouts and projects!

Have a beautiful week!

Friday, September 22, 2017

Layout Featuring Freckled Fawn's Black & White Kit!


Hello Lovelies!

Nicole here and today I have a colorful 12 x 12 layout to share with you featuring the September Black and White kit from Freckled Fawn!  Last year when they released the kit, I was unfortunate and didn't get one before they sold out...but not this year!  I'm in awe over this kit and highly recommend it!

When I think of black and white, my mind automatically gravitates towards bold colors, so that's what I did for this layout!  I went thru my stash and pulled out bold, playful and very colorful papers and pieces. I basically created my own mini kit with the products.  When I was looking for a background paper, I found this notebook paper piece and decided that a first day of school photo was going to be it! Perfect!  I also used Septembers Sketch Challenge to help me out! Here is a look at the September sketch and my final layout:


The alphas, cameras, puffy stickers, enamel star stickers...really these pieces from the kit made this layout fun anD whimsical! I love how this turned out!  Here are more close ups of my layout:


If you are interested in purchasing the kit, please click HERE!

Don't forget to link up your project to the FF blog HERE!

Thanks so much for joining me today!
Be bold and stay colorful!

Thursday, September 14, 2017

Water Coloring Girl Images | Shimmerz Paints


Hello Shimmerz fans!

Today I have something fun in store for you! I've been reorganizing my craft space and stumbled upon some rubber image stamps from The Greeting Farm and thought what a perfect time to share with you just how amazing Shimmerz can be on your girl and boy image stamps!


Water coloring images can be a little intimidating....I completely understand the feeling! Which ink? Which brush? But it's going to bleed into the next color...ugh... If water coloring these types of images is something newer to you, I have a suggestion...try heat embossing your stamped image! When you heat emboss, the embossing powder creates the separation needed to keep your colors from bleeding together!  (If you don't have a heat tool, use some type of permanent ink, such as Archival Ink.) This for me was half of my battle in the beginning and once I over came this, my technique improved.


I began by heating embossing this image in black and two other images with white embossing powder, all on water color paper.  I wasn't sure at first what I was going to create with it, so I did it in both colors. (I have examples of the white images further down the page.) I picked out some coordinating fall colors from my Shimmerz paints and my water brush and began to paint. When I water color my images, I start by wetting the area first. It helps to get the color moving. I then start by placing my brush down in the area I want the lightest. I know, as crazy as it sounds, putting your brush down first at the lightest area,  then picking your brush up at the darkest area helps to keep the color concentrated where your brush leaves the page, making it the darkest. It will take some practicing to get used to this, so be sure to practice on a scrap area of your water color paper first.

Here is a look at my final image all colored in and the Shimmerz colors that I used: 

How perfect is Pink Champagne and Cheeky Pink for skin and cheek colors?! <3 
I decided to make Latte Anya into a card for a friend. Here's a look at my finished card:


I simply layered a wooden fence die cut, grass and a yellow background behind my image and a scallop background.  Added a "hello" sentiment, a bow, a few enamel dots and its complete! The most time consuming part of this was paining the image itself and waiting for the areas to dry. In fact, while I was paining this image, I also painted two others with the white embossed image for another project.  Here's a look at those images:


When I was done painting these, the biggest issue I had was the eyes and mouth were of course white. To solve that problem, I took a black fine tip sharpie and drew over them so they would stand out.

These two images I ended up fussy cutting and using in my planner spread this week! 
Here's a look at my planner:


Thanks so much for joining me today! I hope you get out those embossing tools and give this a try! If you do, be sure to tag us so we can see your creations!
Until next time, have a colorful week!


Wednesday, September 13, 2017

Together 9x12 Layout | Freckled Fawn

Hello Lovelies!
Nicole here and today I have a double page spread for you using the August 2017 Freckled Fawn Embellishment Kit!  One of my favorite elements in this kit is the wood grain washi tape...I may have mentioned this about 100 times already this month...lol...but it really was a large inspiration for this two page spread.  The background I used on the full page layout is a cut file from Just Nick Studio. When I found it...I just HAD to use it! It's a perfect fit!!! It matches the washi perfectly, so that was my starting point. Here's an overall look at the final spread:


I took some time to cut the wood grain background from my Silhouette Portrait and glued it directly onto my background paper. My next step was taking white acrylic paint and applying it behind my photo so I could then add in matching pink and light blue paints. Once that was dry, I then layered in my Freckled Fawn wood grain washi, acetate doilies, floral stickers, the yellow doily flair, clear quote stickers and other items from my stash. Here are close ups of the full page layout:


After that was finished, I began working on my coordinating 9x12 Project Life layout. All of the journaling cards are from the "All About Love" collection and they are beautiful pastel colors in pink, blue and grey! I just love these three colors together! I took the time to lay my photos out on my computer so I knew how much of a white boarder to leave on the two smaller photos.  I used the wood grain washi again, enamel shape and floral stickers and this time I used more of the floral wood pieces from the kit. I also used vellum letters from a past kit, clear phrase stickers, stamped a few icons with stamps from my stash and added in my journaling. Here are close ups of my final layout:


Thanks so much for joining me today!
We have some exciting new papers coming to the shop! Be sure to keep your eyes open!!
Have a fantastic week!