Friday, December 14, 2018

"Believe" Layout | Shimmerz Paints

Hi scrappy friends!

Nicole here and today I have a fun, non-traditional Christmas layout for you! Before I get in to the fun stuff, here's a quick look at my final project:


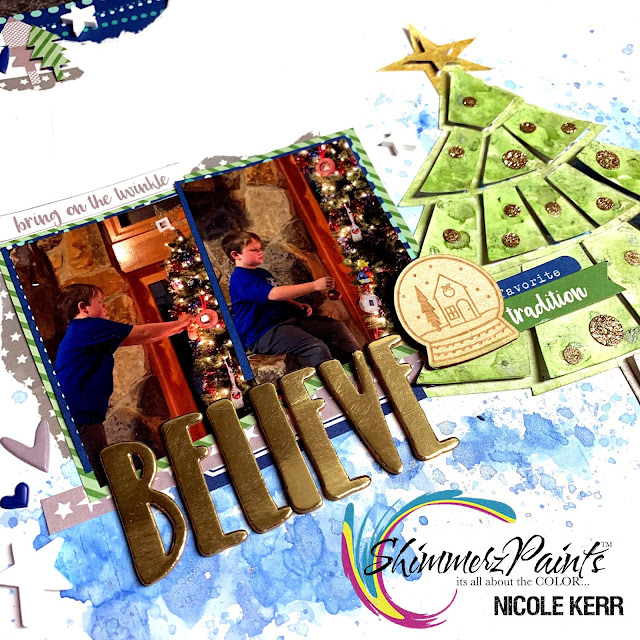
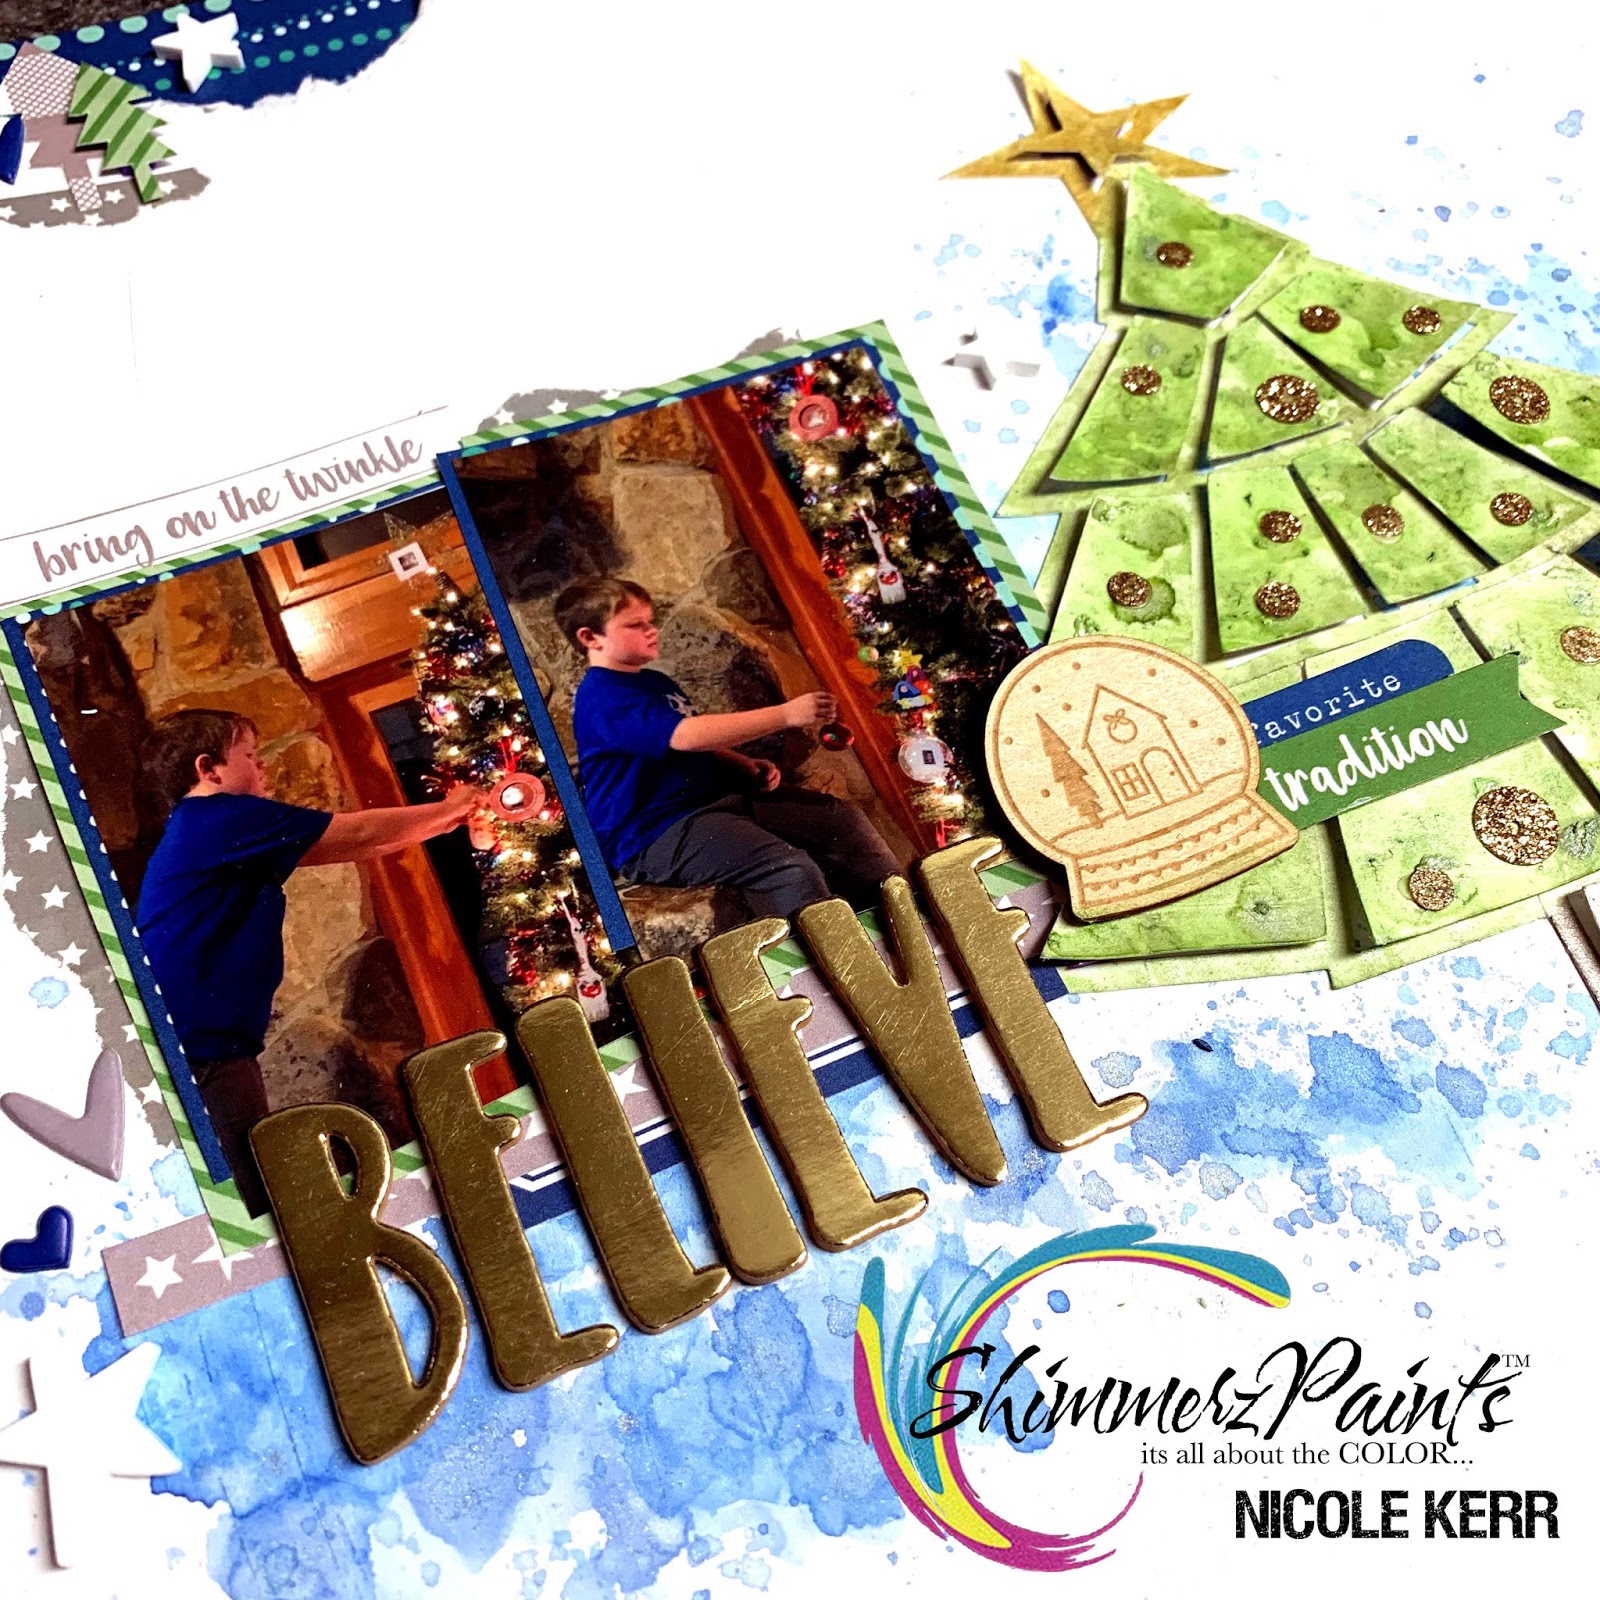
Lately, I've been on a non-traditional Christmas kick. Don't get me wrong, I love red and green, but sometimes I like something a little different. Today, I have "different" for you!  I used a tree cut file and six different Shimmerz products on this layout.  I first began by creating my background using Vibes Frost Bite, which has the most beautiful gold glitter in it, and Spritz Sapphire. I used the packaging technique on a gessoed background and set it aside to dry.  While drying, I cut my tree. I left it on my cutting mat while I did all of the painting. It was so much easier and it didn't harm my mat at all! I added gesso first, then layered Inklingz Greener Pastures and Honey Do List for the branches, Shimmerz Precious Metal for the trunk and Shimmerz Christmas Cheer for the star.  While all of my layers were drying, I started building my photo layers and added the top bits to my spread.  I used a collection from Elle's Studio this month for all of my papers and most embellishments. The cut file really did all of the hard work adding interest to the layout!  Here are a couple close ups of my final spread:


Here's a list of all the Shimmerz used on today's project:
Vibez Frost Bite
Spritz Sapphire
Shimmerz Christmas Cheer
Shimmerz Precious Metal
Inklingz Honey Do List
Inklingz Greener Pastures

Thanks so much for joining me today!
Don't forget, add my name in the comment section of your order for a free surprise product!


Thursday, December 6, 2018

Magical Christmas Star | Shimmerz Paints

Hello Shimmerz fans!

Nicole here and today, I have a fun and quick non-traditional holiday layout to share with you!
I don't know about you, but sometimes I stare at my product and get so confused on what I actually want to create.  Sometimes not having the exact shade of pink or not a full sheet of paper can be discouraging.  On today's layout, I've used a few chipboard embellishments, thickers for my title and a half of a sheet of 6x6 paper and that's it!! Shimmerz can really stretch your existing supplies and bring life to products you may have had in our stash for a while!  
Here's a quick look at my final layout:


Now, I'm going to be completely honest.  I dug DEEP into my stash this week.  I mean, so deep that I found chipboard stickers that literally the adhesive backing was falling off! I've had these in my stash for so long that I think it may have dated back to before my second son was born, which has been 8 years now...eek!!  So I took that as a challenge to use it or loose it!  When I saw the angel and bells, I knew right away that lavender and grey was going to be my color focus.  The bells even have an iridescent glitter that's purple that matches the angel's wings!  How could I have missed these gems for the last 8 years?!  With minimal pieces of this collection, I found a silver and grey 6x6 paper scrap in my scrap bin that was perfect.  When I don't have many paper supplies, I always turn to my Shimmerz to create my background.  For this piece, I used Shimmerz Lilac Blossom, Shimmerz Sugar Plum and Spritz Granny Grey to create the background.  When dry, I used a vine stencil (that reminded me of windy swirls) to create texture over top of the paint.  For the stencil, I used Dazzlerz Spun Sugar with a layer of Paste-eez Puttin' On The Glitz over top. This adds the beautiful iridescent glitter over the white.  Here are a few close ups:


Here is a list of the products I used today:
Dazzlerz Spun Sugar
Paste-eez Puttin On The Glitz
Spritz Granny Grey
Shimmerz Lilac Blossom
Shimmerz Sugar Plum

Thanks so much for stopping by!
I hope you have been inspired!

Want to try any of the products I used today? Or any Shimmerz products? Stop on over to the Shimmerz Shop and mention my name during checkout for a FREE product included in your order!


Tuesday, November 27, 2018

Marvelous, Extraordinary, Wonderful YOU | Scrapaholic Scrapbook Supply

Hello Scrappy Friends!

Today I'm super happy to share with you that I have been given the opportunity to work with some new products and ya'll, seriously, I'm in love! Tracey from Scrapaholic Scrapbook Supply was so generous to send me some products and I can't wait to share all of them with you! Tracey makes and sells chipboard for all kinds of crafty needs! From whimsical to grunge and everything in between, she surely has something for everyone!  Today I'm working with the Doodle Frames set. Here's a quick look at my final layout:


I began with 3 of the chipboard frames from the set and 3 different Distress Oxide inks in Peacock Feathers, Fossilized Amber and Abandoned Coral.  I didn't do any prep to the chipboard and simply pressed the ink pads to the frames.  Because the Distress Oxide ink is thicker, it layered color very nicely!  I set those aside to dry and began my background.  I took a white piece of cardstock and applied a thin layer of gesso and the same three Distress Oxide inks to create three different areas on the background. Once all of the layers and frames were completely dry, I pulled bits and pieces from a Page Evans collection that coordinated.  I ended up color blocking most of the layout and added two die cut strips of colorful hearts! Once everything was adhered, I added the word "YOU" to make my title "Marvelous, Extraordinary, Wonderful You" and my journaling.  Lastly, I decided it was missing something and added the strip of blue and white paper to the right with a rough edge for added texture.  Here are close ups of my final project:


 Thanks so much for joining me today and be sure to check out all the fantastic chipboard accessories over at Scrapaholic Scrapbook Supply!


Friday, November 16, 2018

"Let it Snow" Color Challenge Layout | Shimmerz Paints

Hello Shimmerz Fans!

Today I'm taking part in the November color challenge!
If you haven't heard, the Shimmerz team has been assigned to choose just ONE color to focus on for a project this month.  I chose Inklingz Blue Lagoon.  This was one of my very first colors that I owned from Shimmerz simply because of its versatility. It's great for all seasons! Today, I'm featuring it using a winter project.  Here's a quick look at my final 12x12 layout:


Y'all seriously, Crate Paper Snow & Cocoa is my all time absolute favorite paper collection.  This color matches the teal in this collection PERFECTLY!

I began my layout by combining the Blue Lagoon and white modeling paste so I could stencil the large snowflakes on the background. While that was drying, I took a full sheet of 8 1/2 x 11 cardstock and covered the entire paper with the same color using the packaging technique. I added a few layers of color, drying them in between.  When that was dry, I tore it into random strips to create my layers of snow on the bottom of my layout.  When I glued those to my background, I made sure to only glue the bottoms, so the tops would be open to tuck embellishments in.  I free hand cut my large snowman out of coordinating papers, including his hat, scarf and arms.  The Large "Let it Snow" is a chipboard sticker from that collection.  I continued adding in paper, cardstock and chipboard embellishments to complete my layout and finished it off with more splatters of the Blue Lagoon.  Here are some close ups of  my final layout:


Literally, the ONLY Shimmerz color I used on today's project was Inklingz Blue Lagoon!
I hope you join in on the challenge and tag us on social media!

DON'T FORGET!
If you purchase this, or any other Shimmerz product, be sure to add my name to the comments section during checkout for a free surprise! Full details below!


Friday, November 9, 2018

Love You A bushel & A Peck | Shimmerz Paints

Hello there Shimmerz fans!

Nicole here and today I have a fun fall layout to share with you!
Fall is absolutely one of my favorite times of year to document. I have so many fall embellishments, but for some reason, not too many fall papers.  When this happens, I love to create my own papers or paper pieces to coordinate with my embellishments! Today, I used just 3 Shimmerz projects to create lots of fabulous fall leaves to bring my layout together.  Here's a quick look at my final project:


I began by creating my leaves because I knew they would take a bit to dry.  I used my Silhouette Portrait to cut out several different sizes of maple leaves. Once cut, I added several layers of Vibes Glorious Day, Inklingz Greener Pastures and original Shimmerz Pumpkin to create the fall coloring.  


I put those aside to completely dry and started on the frame around my photo.  This frame is a beautiful fall maple leave chipboard circle from Scrapaholics Chipboard. Its detail and delicacy is absolutely stunning!  I coated the entire frame with white gesso then layered on the same 3 Shimmerz colors so it matched my leaves. While all of that was drying, I added in small bits of Texturez Gold Mine thru a circle stencil for a little added texture and more gold color.

 Once everything was dry, I began layering my leaves, frame, photo and added in all of the small embellishments, tucking them in between and behind the leaves to make it look like they were peaking out. Once everything was placed and adheared, I backed my entire layout onto a piece of brown wood grain paper to tie the brown all together.  Here are the close ups of my final project:


The Shimmerz products I used on today's layout are:
Shimmerz Pumpkin
Inklingz Greener Pastures
Vibes Glorious Day
Texturez Gold Mine

Thanks so much for stopping by! I hope you got inspired!
Be sure to mention my name in the notes section during check out for a free surprise Shimmerz product (details below)!


Thursday, October 25, 2018

Hello Fall Layout | Shimmerz Paints

Hello Shimmerz Fans!

Nicole here and today I have a fun fall layout to share!
Before we get started, here's a quick look at the final product:


So, I've had this kit from Simple Stories for a VERY long time.  I have been trying to use it, but never could find the right papers, colors, etc. to use with them. When Shimmerz released Ahoy Matey Coloringz not too long ago, I oohed and awed over the color because I knew it was going to work perfect! So of course, I had to add it to my collection!

I began with a layer of clear gesso over my entire background because I wasn't sure what I wanted to paint in the beginning.  I ended up finding a piece of ephemera that looked like a wreath and decided that was what I wanted!  I made a half circle using Coloringz Ahoy Matey, Vibez Glorious Day and Inklingz Penny 4 Your Thoughts.  Once it was dry, I began to layer my ephemera and chipboard and something still just wasn't right. So I painted my own flowers in the Ahoy Matey and Glorious Day and they turned out perfect!  I added white swirls to them too so they matched the rest of the embellishments. I placed several in different shapes and sizes in various places all over my layout.  I just LOVE how this turned out!  They were the perfect touch and almost look like they're a part of the original collection! Here are a few close ups of the final spread:


The Shimmerz products that I used in todays layout are:
Coloringz Ahoy Matey
Vibez Glorious Day
Inklingz Penny 4 Your Thoughts

Thanks so much for joining me today!
I hope you've been inspired!